Research and Development
The need for establishing a workflow
----
Generating 3D data from a 2D image set has always seemed like black magic to me, transcending dimensions, a couple co-workers and I decided it was time to figure out how to grasp this process and utilize it for our needs both professionally and personally.
I came across a great YouTube video that would become the foundation for establishing a workflow with photogrammetry and used it as production guideline.
Firstly, we needed to use a photogrammetric processing suite that would allow full function and exporting. Secondly, software was required to instantly remesh and downpoly; it was understood between my co-workers and I that aiming to use existing software our company owns and trial versions of new software would be the most realistic approach. 3Dsmax and flatiron would be used for quick unwrapping and normal plus albedo map baking onto the downpoly'ed asset. Lastly, Quixel suite would be used for continued texture baking, and hand authored texture painting to grantee a PBR ready pipeline.
The final list of software:
- Agisoft Photo Scan
- 3D Studio Max 2016 (Office is a couple years behind)
- Instant Meshes
- Flatiron
- Quixel Suite 2
Ecuador Mask Process
----
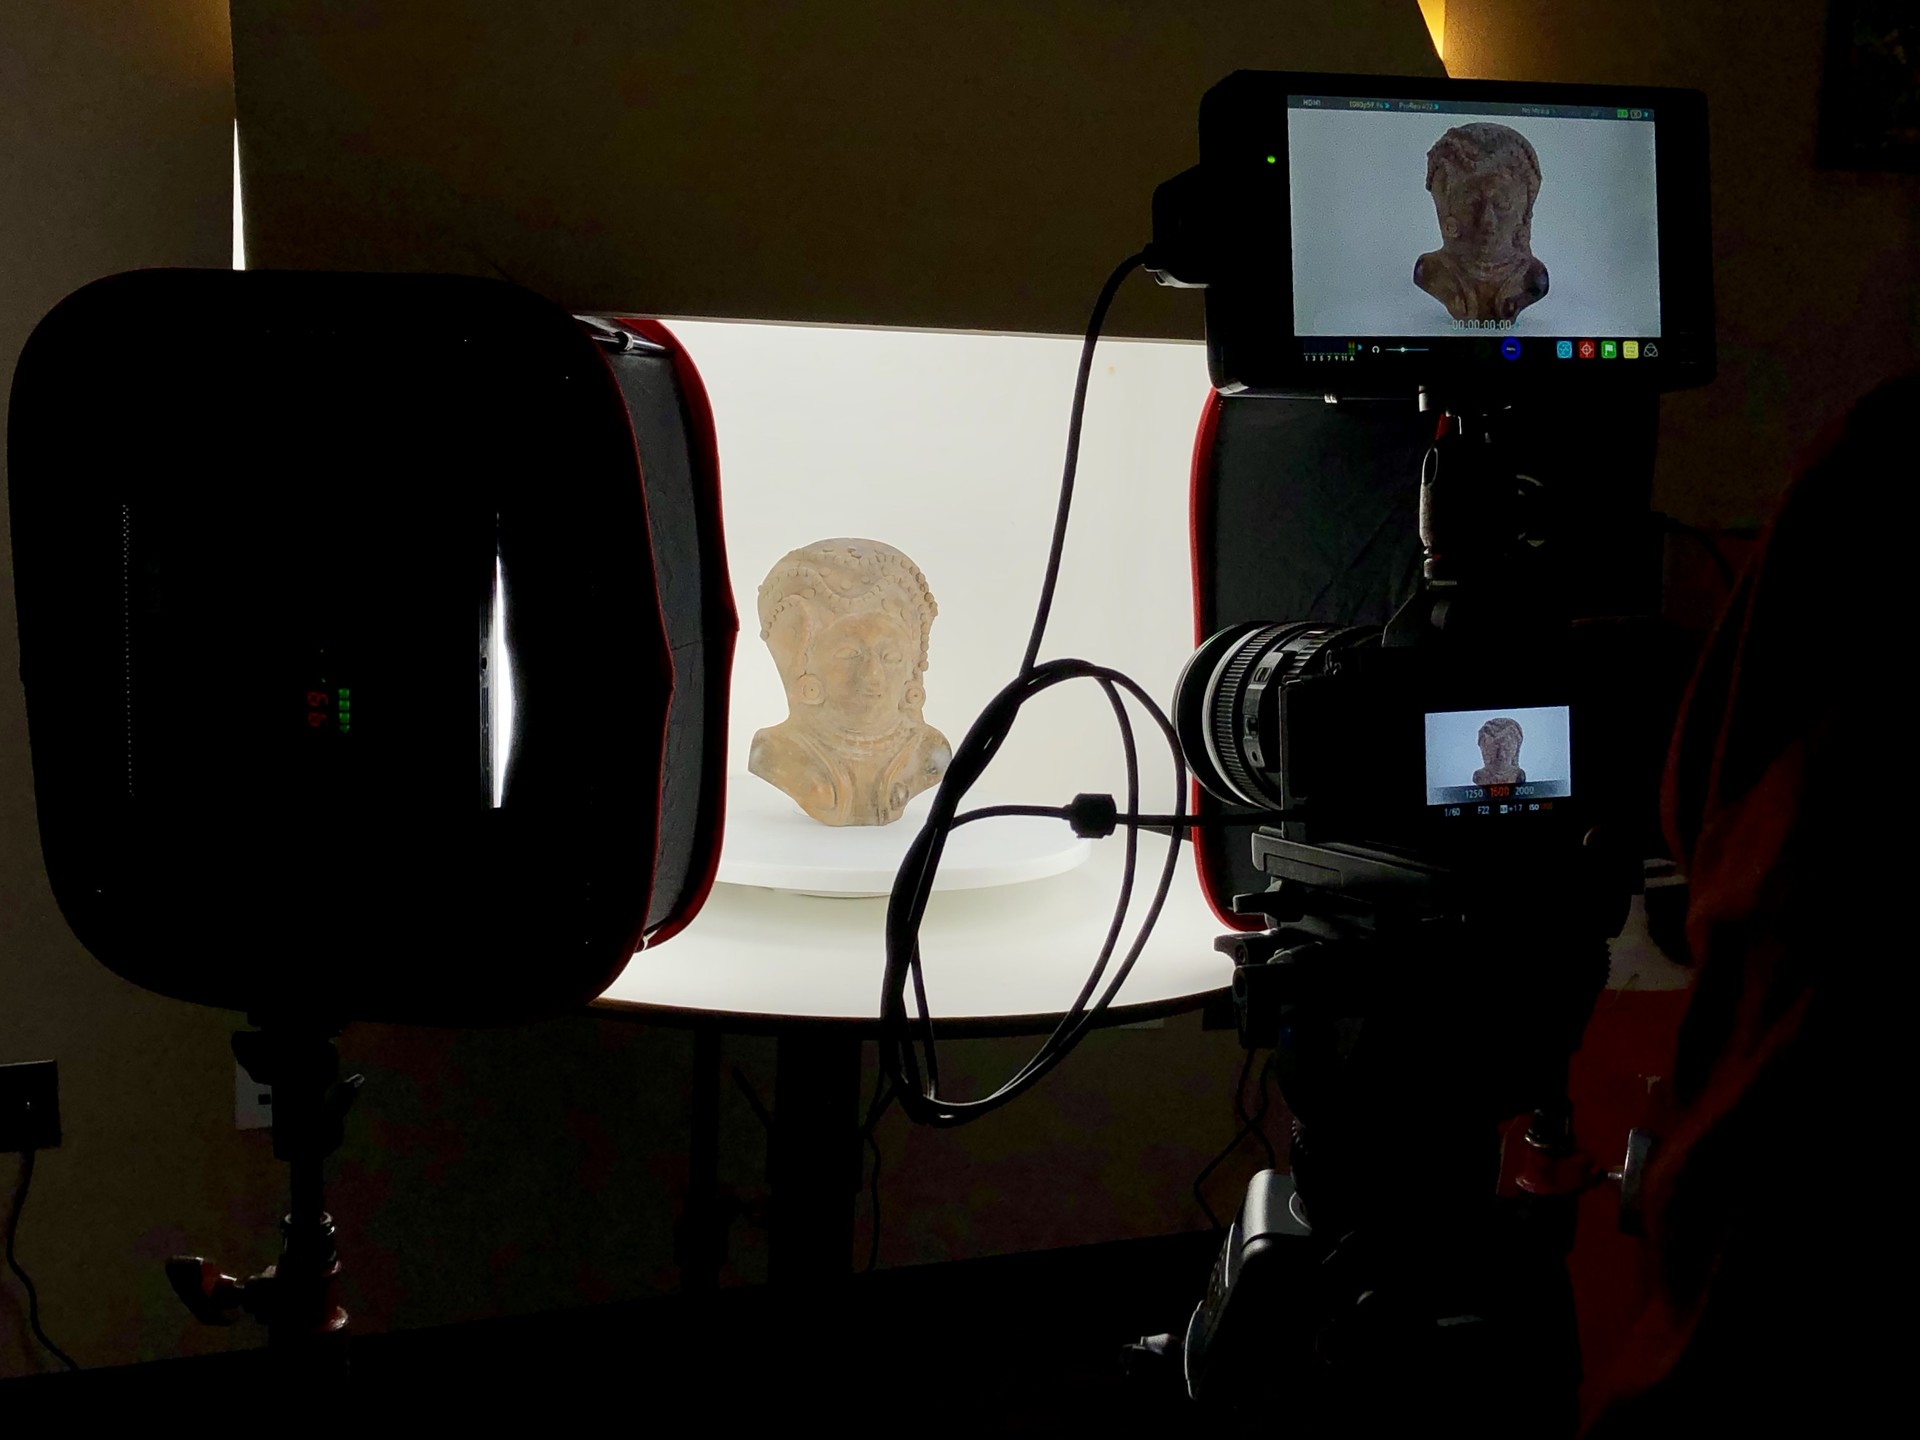
For this hand sculpted Ecuadorian mask, All Things Media's video department supervisor, Angel Delgado, set up a photogrammetry capture station that consists of a Sony A7s, 3 LED light boxes, a hand spun marble base, and two white boards used as a backdrop and light bounce.
After capturing 59 photos, Agisoft was up to bat for point cloud and mesh creation. A translucent water bottle was used to prop the mask up, allowing us to capture great side views without having Agisoft register the prop as point data. Agisoft was able to generate 23,373 points to process a mesh from.
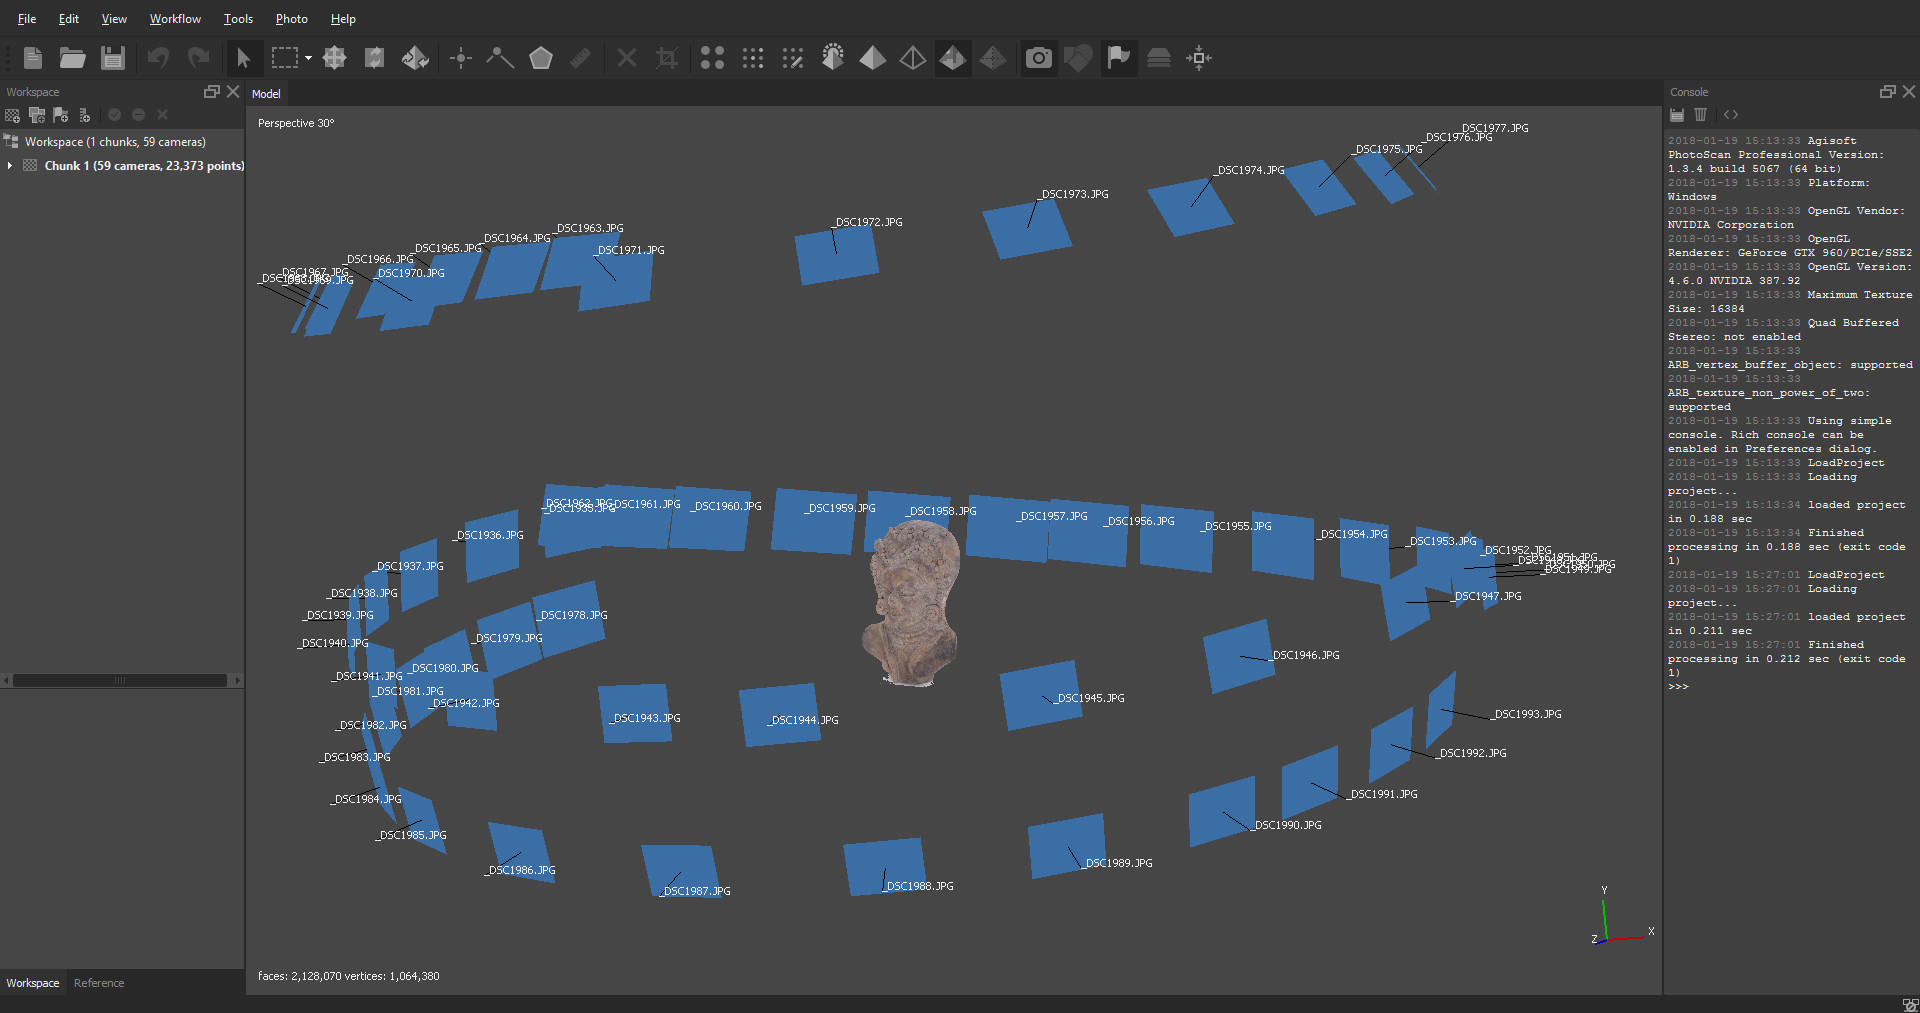 -Agisoft screen-grab showing the angle of each photo
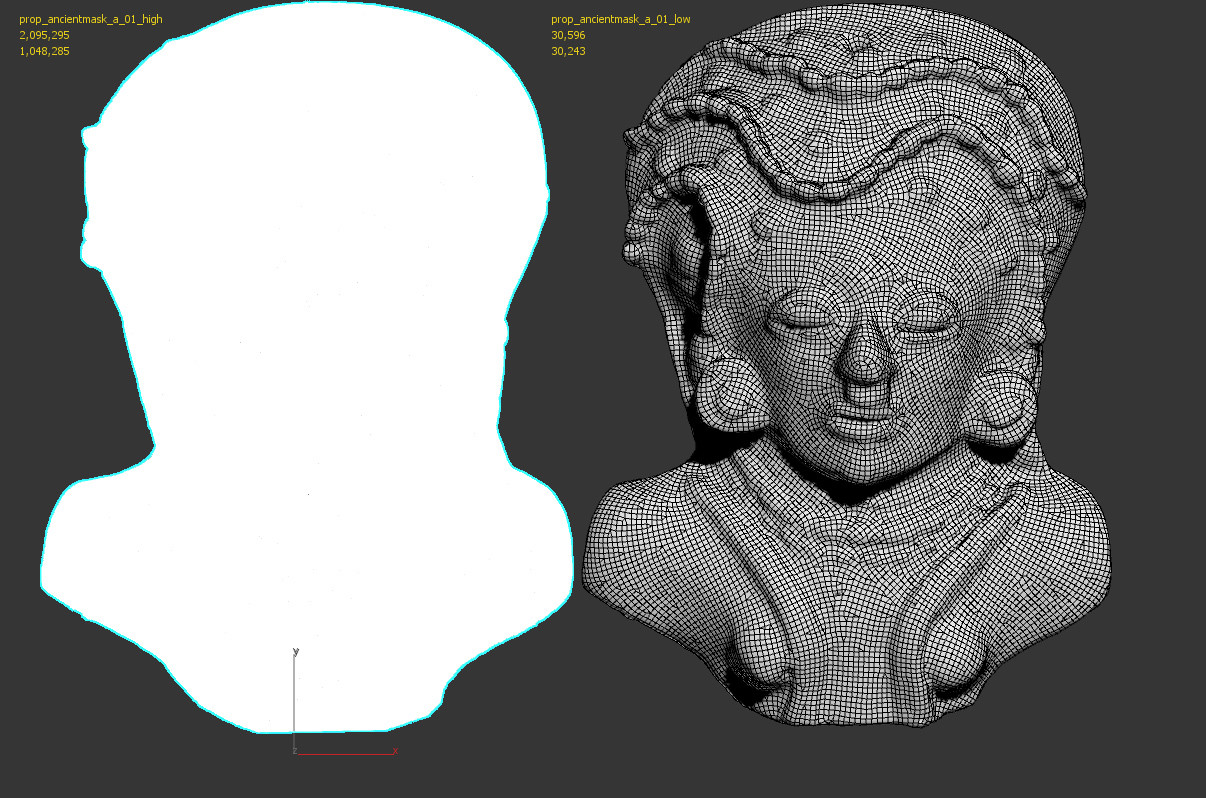 - High Poly = 2,095,295 million, Low Poly = 30,596 thousand
3Dstudio max's render to texture feature using scanline rendering, took care of baking the high poly meshe's albedo and normal data onto the low poly UV's unwrapped by Flatiron. The lowpoly mesh along with baked normal and albedo maps were taken into Quixel Suite's DDO to continue map baking. Corinne Cook assisted with hand authoring a metalness map and cleanup of artifacts in the low poly mesh. Here is the PBR material breakdown:
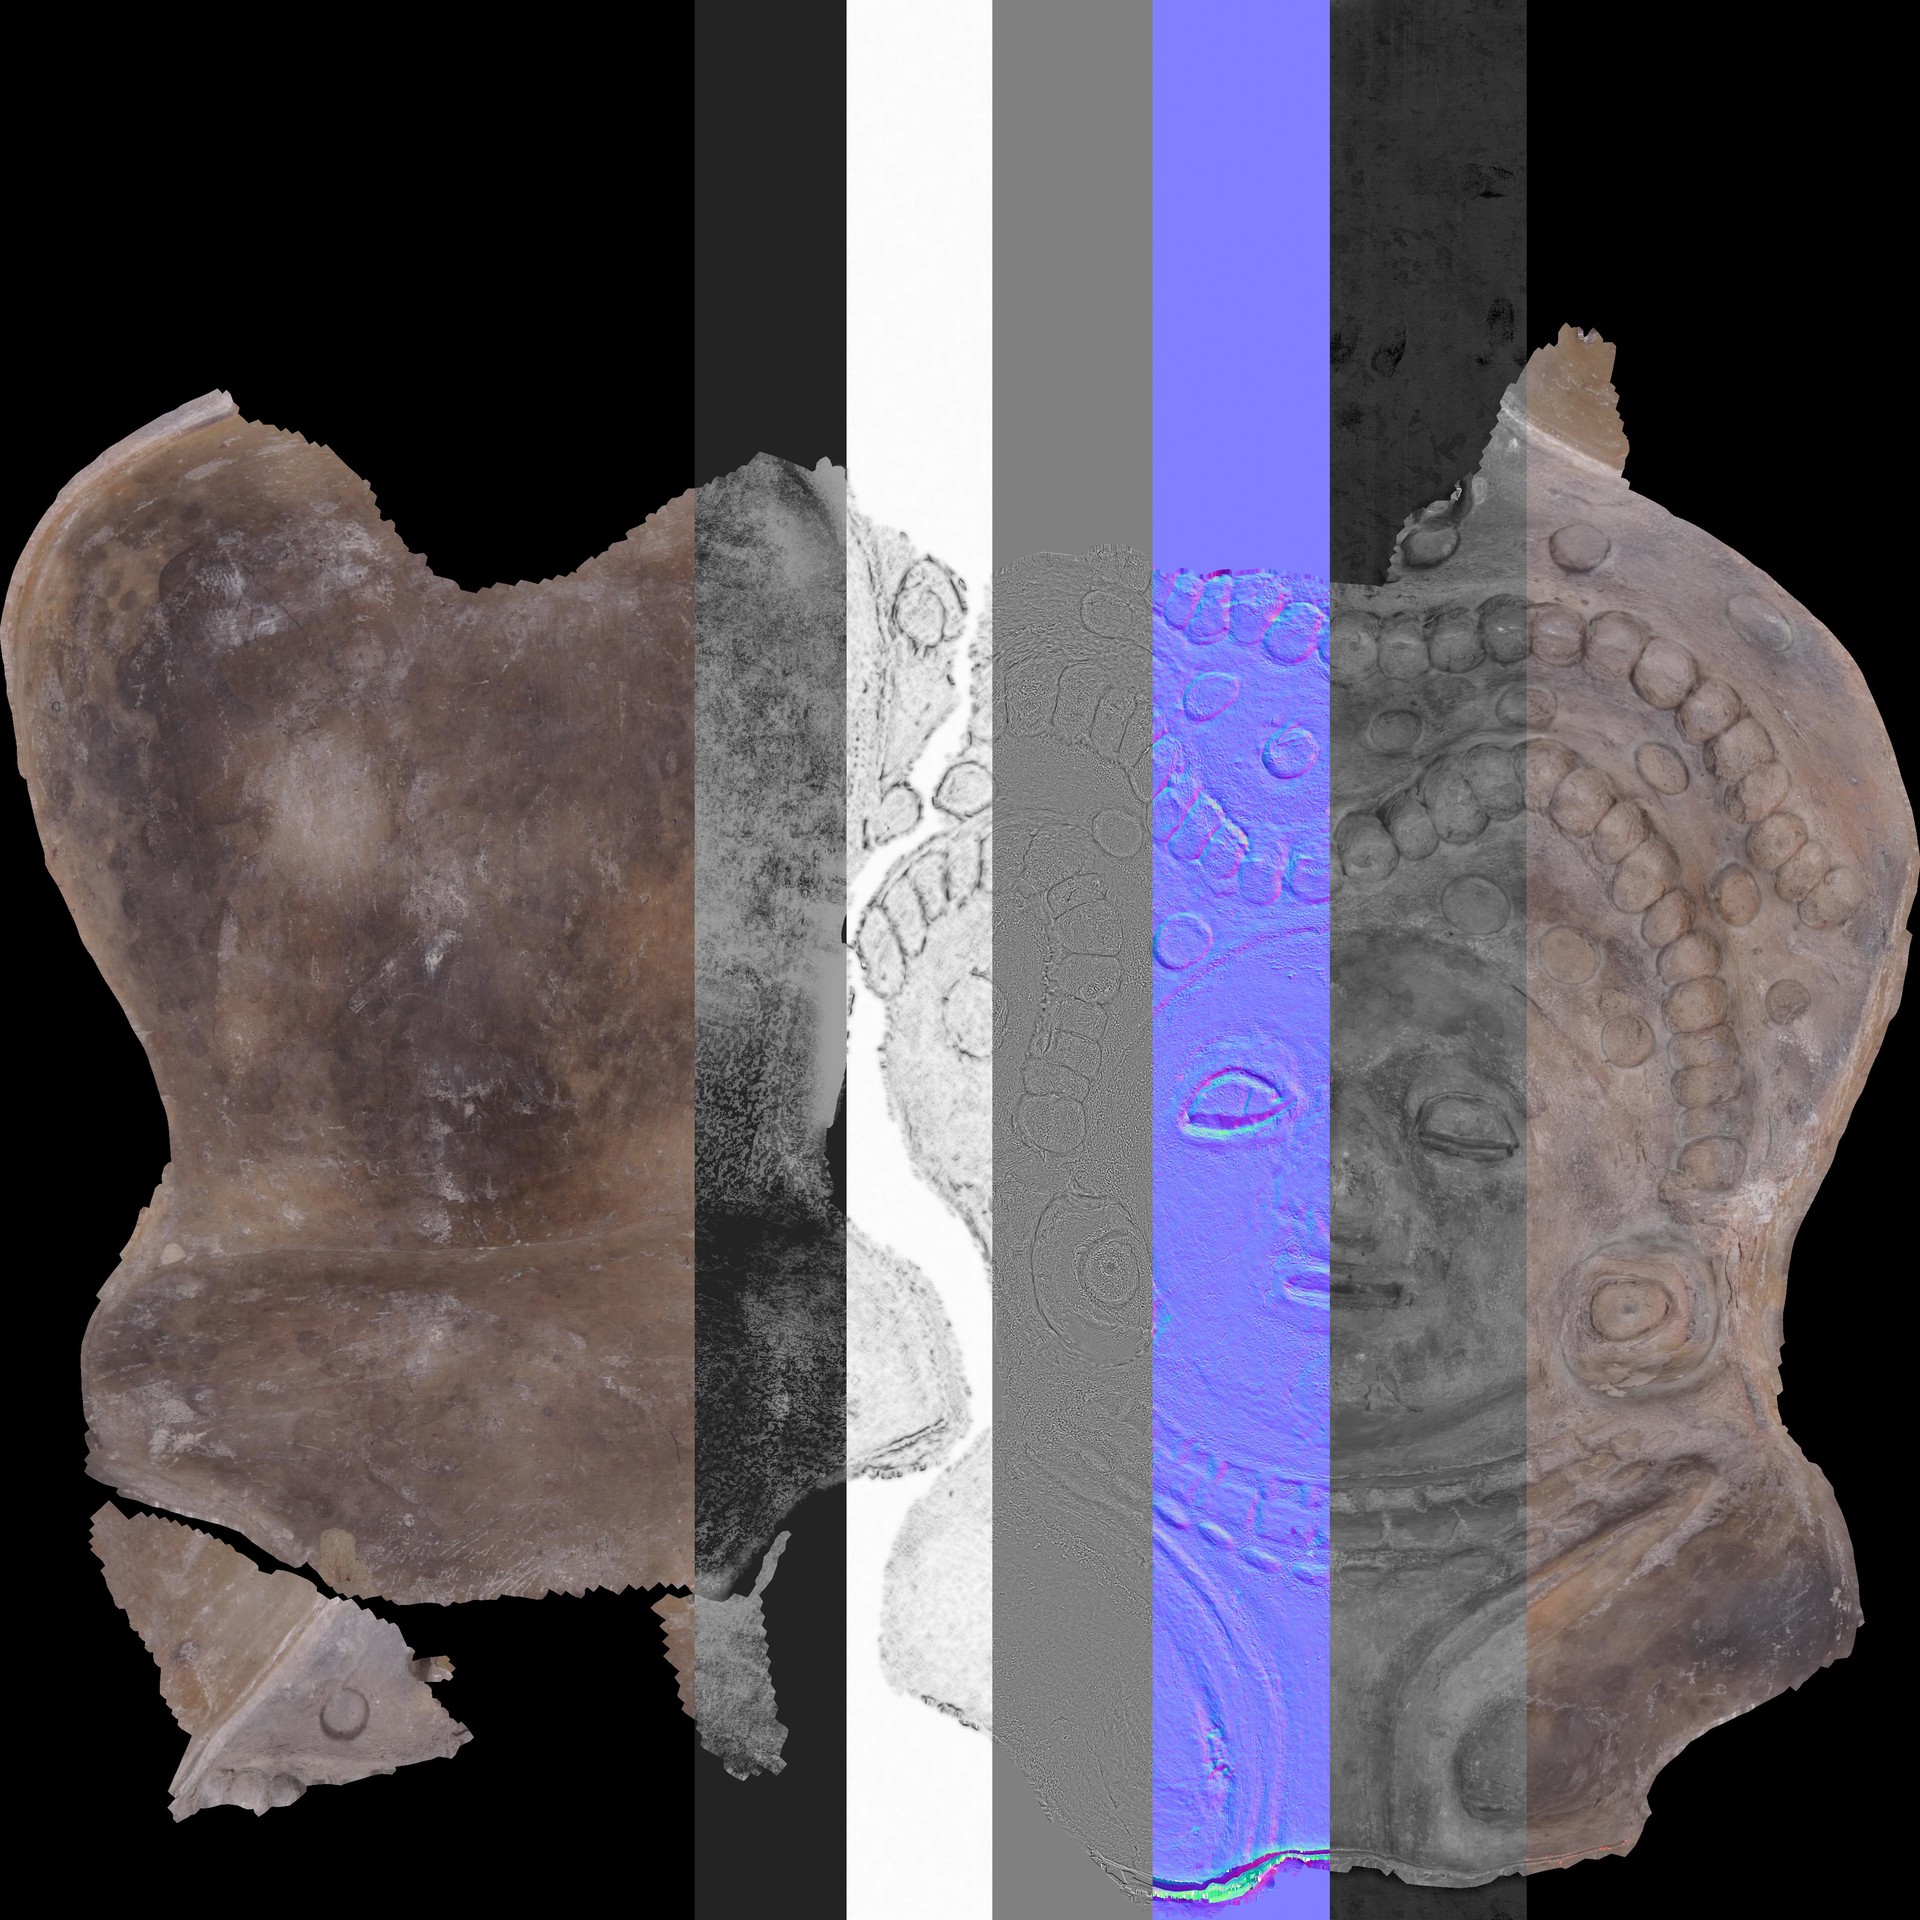 - In order of Left to Right: Albedo, Metalness, AO, Cavity, Normals, Roughness, Albedo
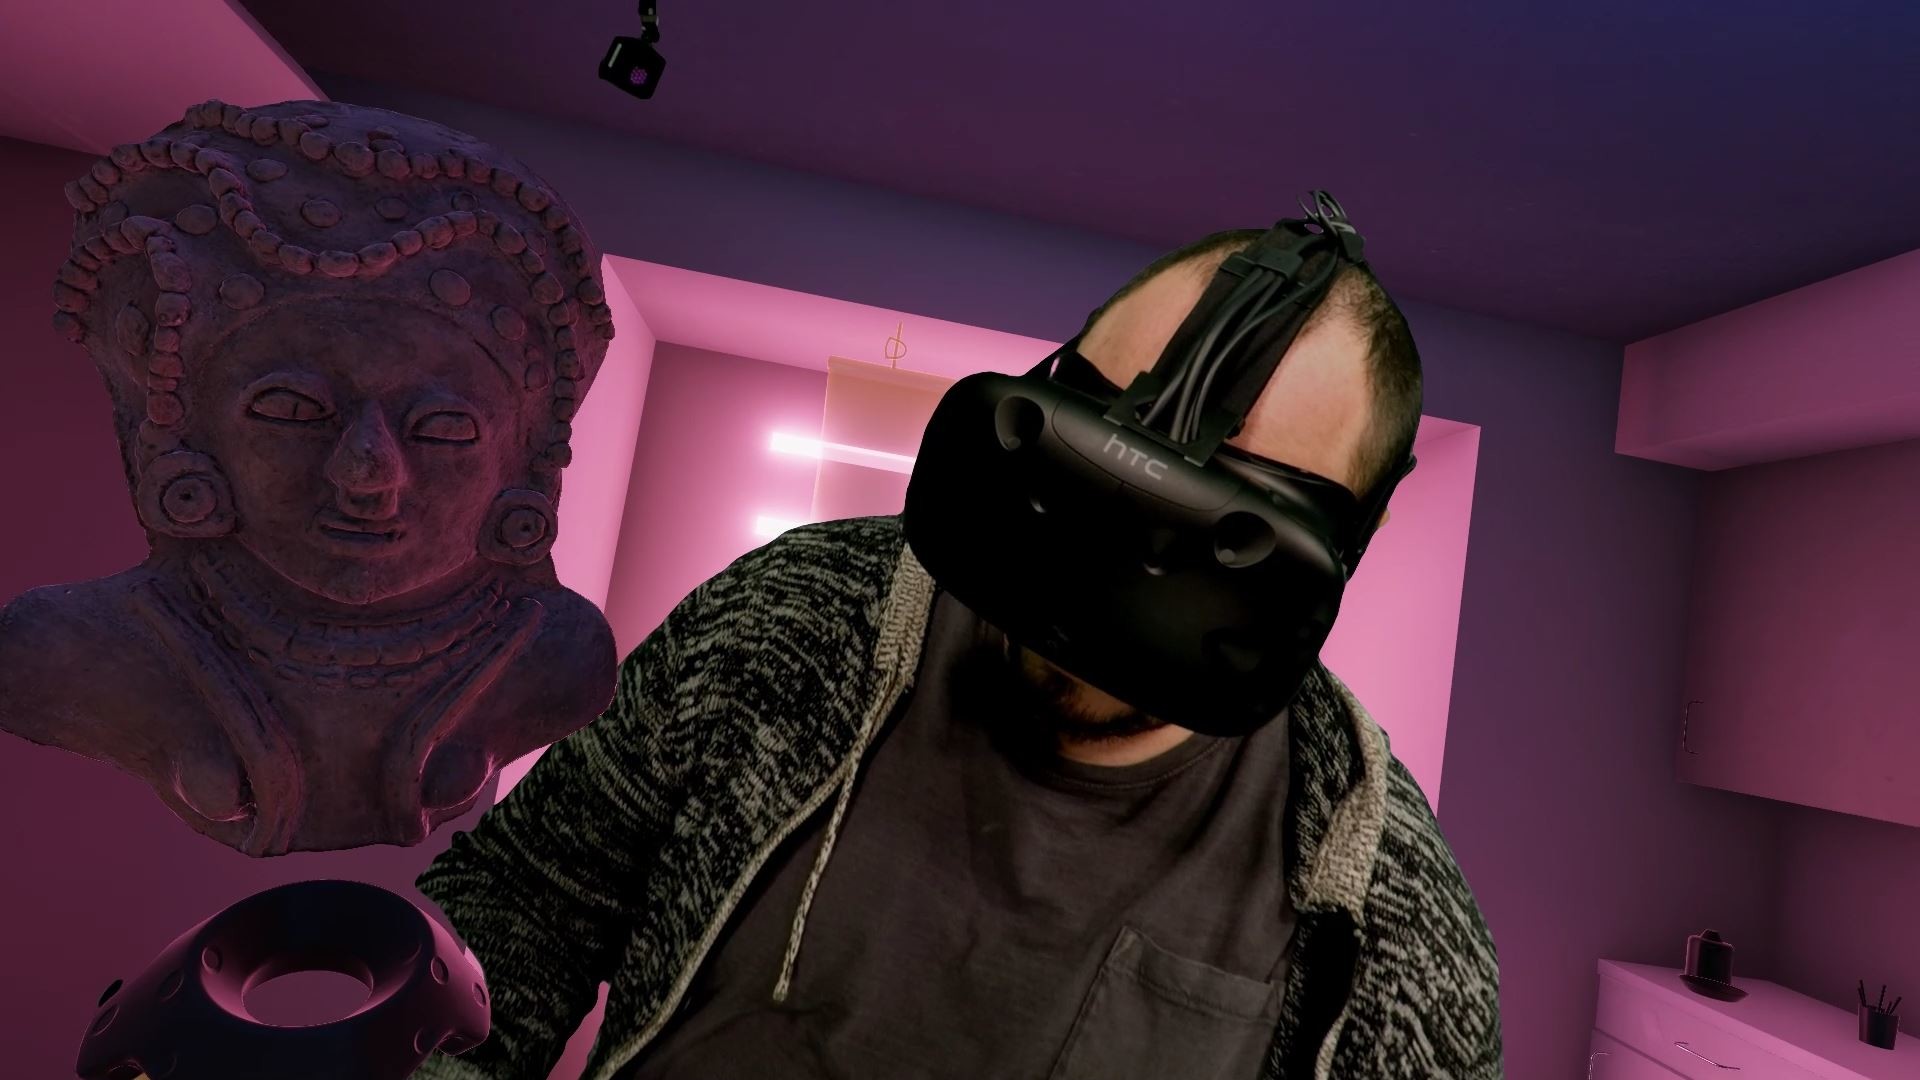
The End Result!
----
The full photogrammetry process resulted in a great asset that holds up in virtual reality! The below image is a still frame from a mixed reality video created with Unity engine.